Deploying a Portfolio Website using Github Actions
Streamlining Portfolio Website Deployment with GitHub Actions and AWS S3


Table of contents
In this blog, we'll deploy a portfolio website effortlessly using GitHub Actions, leveraging a sample repository available at https://github.com/robinthakur00/portfolio-website-github-action.git.
Let's dive in!
Why GitHub Actions?
GitHub Actions is a powerful tool provided by GitHub for automating workflows directly within your GitHub repository. It allows you to build, test, and deploy your code right from your repository, eliminating the need for external CI/CD services. With GitHub Actions, you can define custom workflows using YAML syntax, making it easy to integrate various tasks into your development process.
Getting Started
Before we dive into deploying our portfolio website, make sure you have the following prerequisites:
A GitHub account
A portfolio website repository (or you can fork the sample repository available at https://github.com/robinthakur00/portfolio-website-github-action.git)
An AWS account with access to S3
Setting Up GitHub Actions Workflow
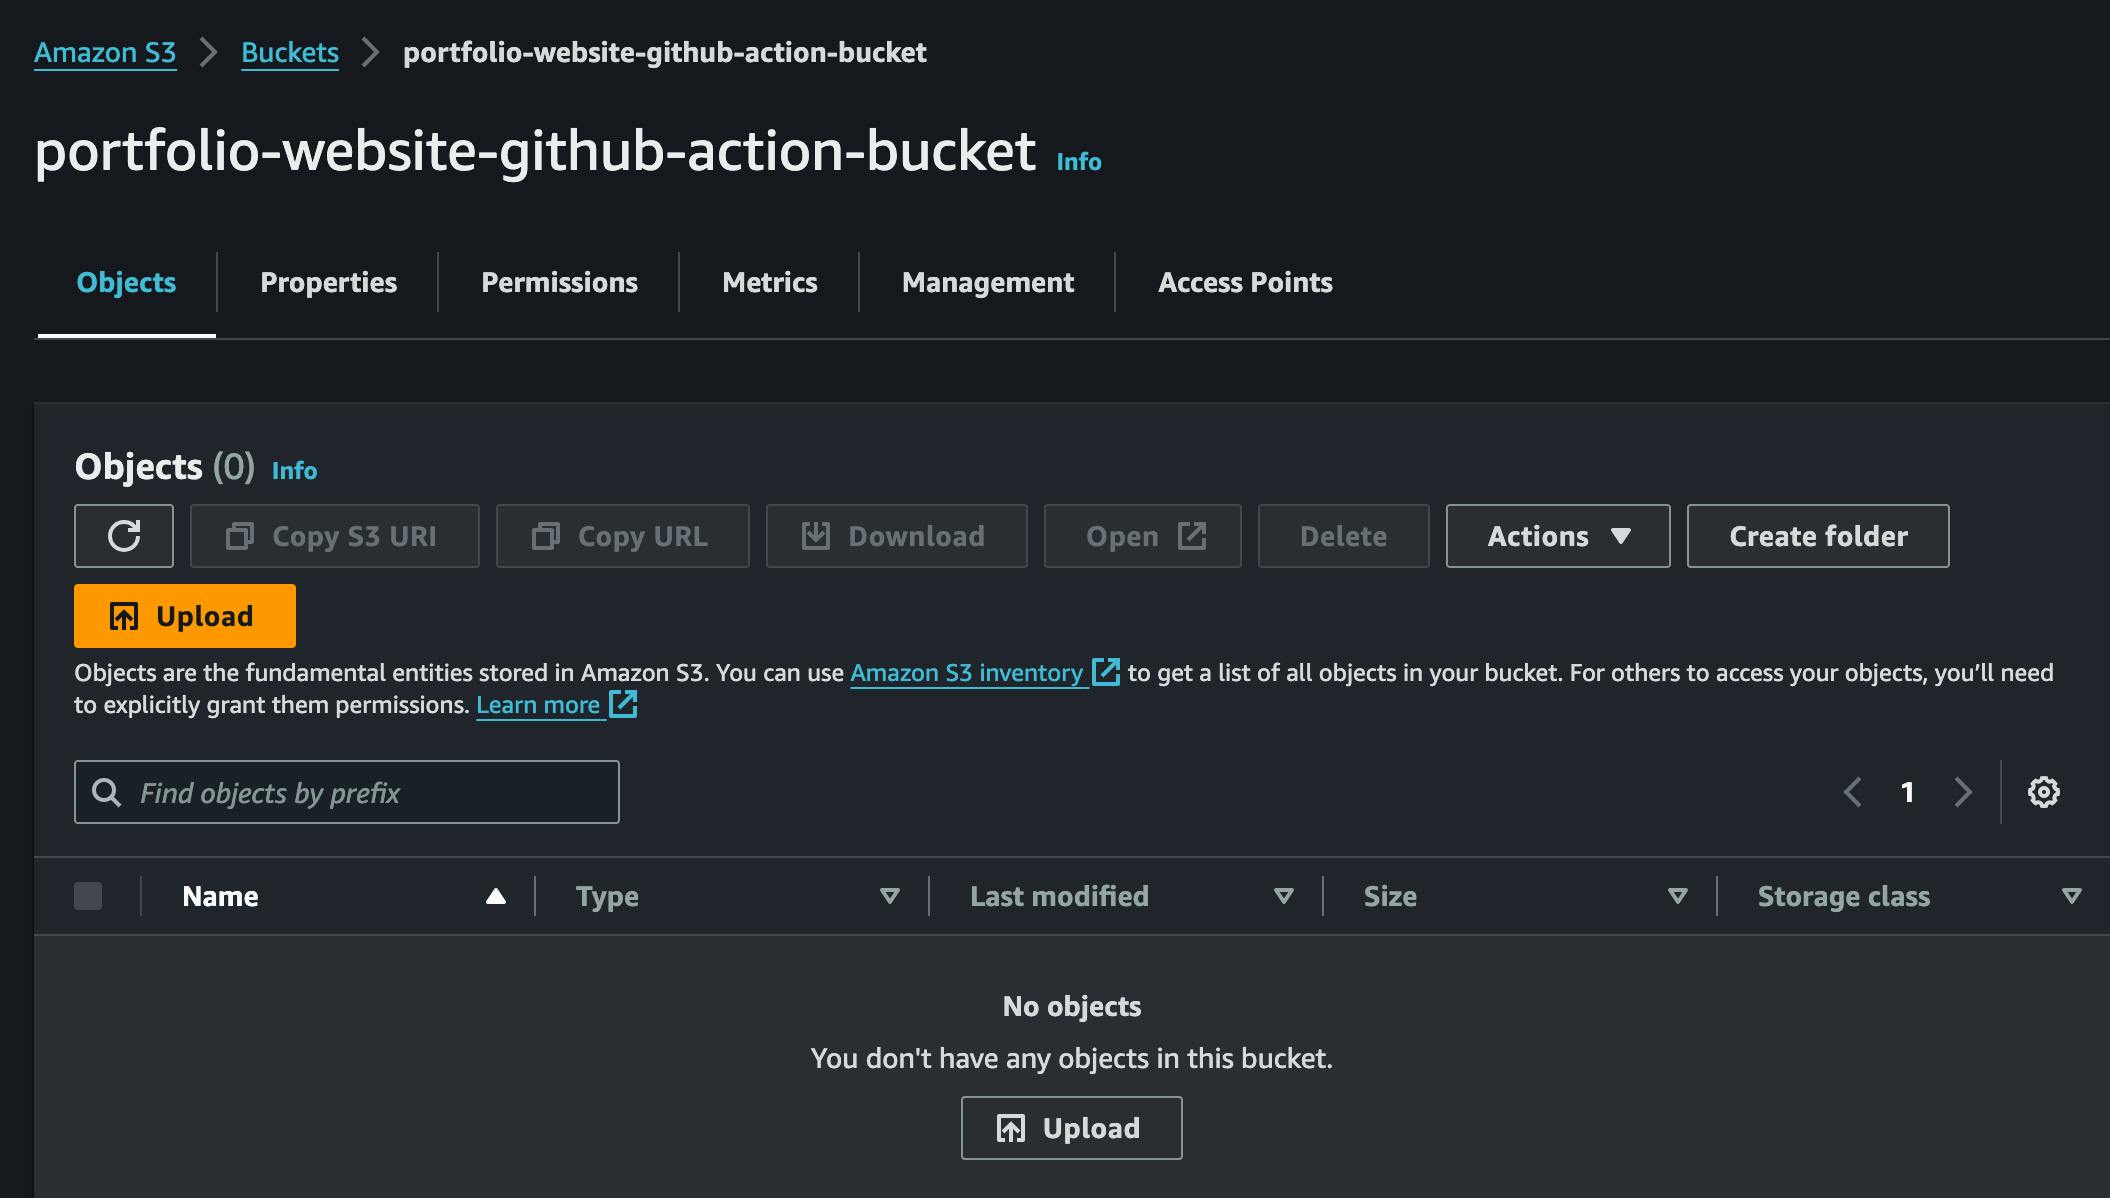
Create a distinctive S3 bucket in AWS for storing files.
Create a GitHub Actions Workflow: Inside your repository, navigate to the .github/workflows directory or create it if it doesn't exist. Create a YAML file (e.g., main.yml ) to define your workflow. Below is a basic example:
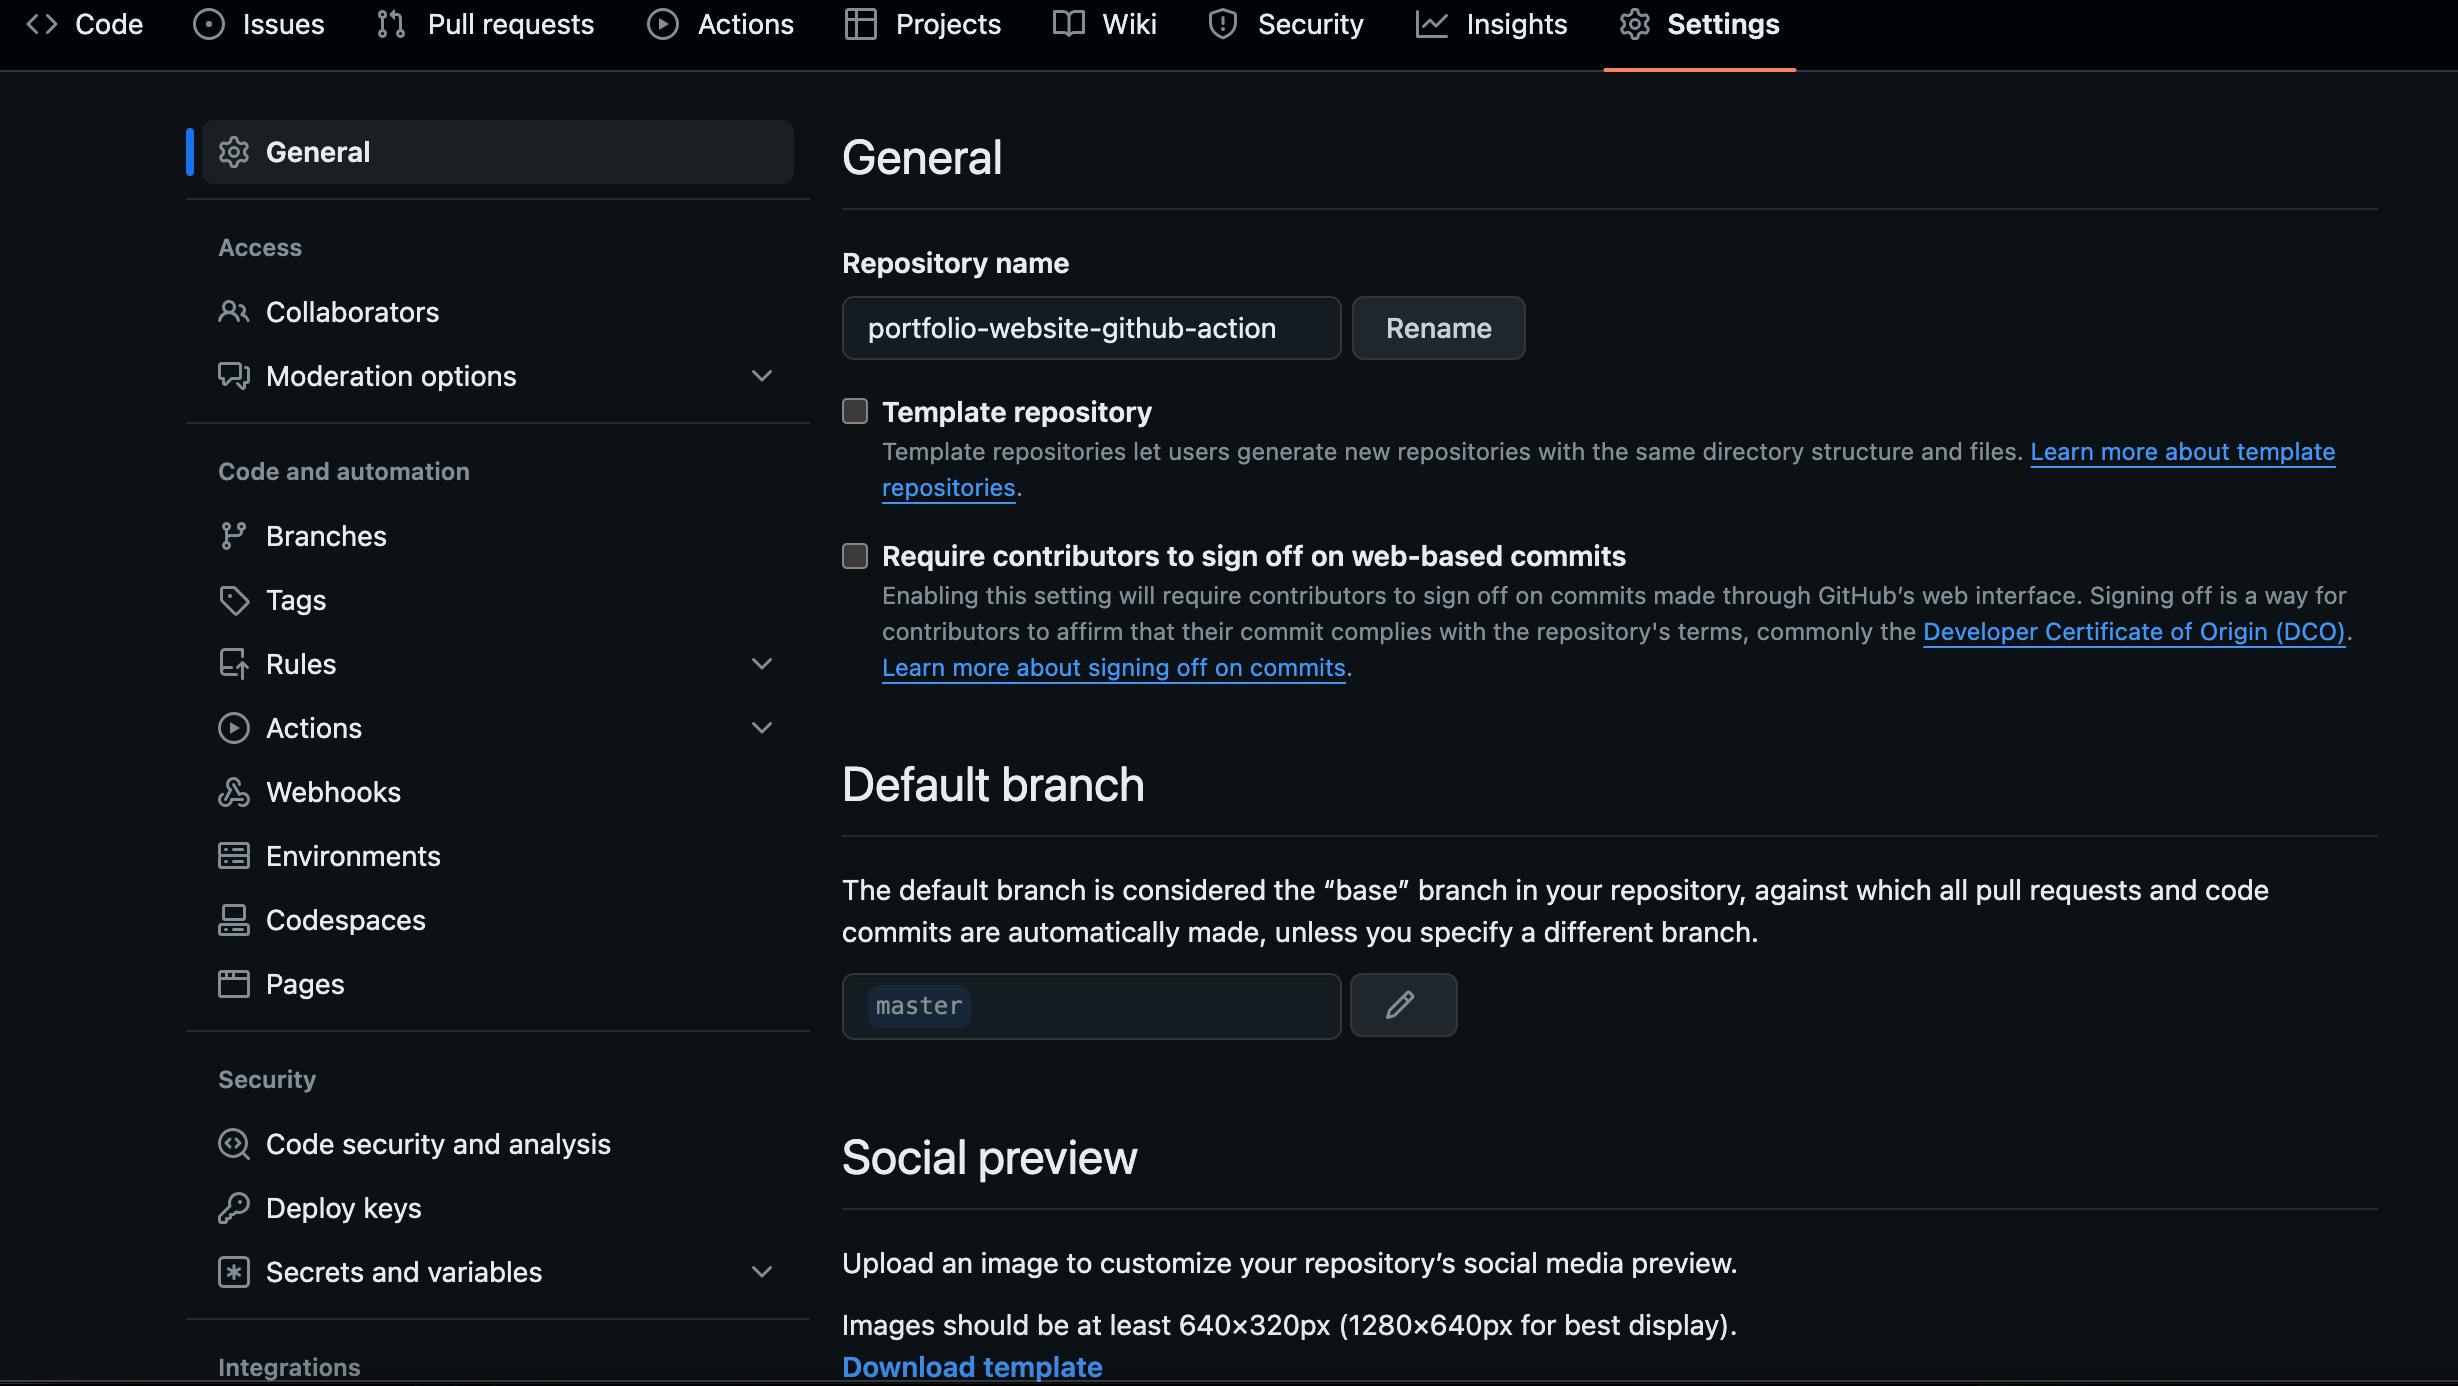
 name: Portfolio Website Deployment

 on:
   push:
     branches:
     - master

 jobs:
   build-and-deploy:
     runs-on: ubuntu-latest
     steps:
     - name: Checkout
       uses: actions/checkout@v1

     - name: Configure AWS Credentials
       uses: aws-actions/configure-aws-credentials@v1
       with:
         aws-access-key-id: ${{ secrets.AWS_ACCESS_KEY_ID }}
         aws-secret-access-key: ${{ secrets.AWS_SECRET_ACCESS_KEY }}
         aws-region: us-east-1

     - name: Deploy static site to S3 bucket
       run: aws s3 sync . s3://portfolio-website-github-action-bucket --delete
Configure Secrets: In your GitHub repository settings, navigate to "Secrets" and add the following secrets:
AWS_S3_BUCKET: The name of your S3 bucket.AWS_ACCESS_KEY_IDandAWS_SECRET_ACCESS_KEY: Access key ID and secret access key of an IAM user with permissions to upload objects to the S3 bucket.

Deploying Your Portfolio Website
Now that your GitHub Actions workflow is set up, deploying your portfolio website is a breeze:
Make any necessary changes or updates to your portfolio website locally.
Commit your changes and push them to the
masterbranch of your repository.
GitHub Actions will automatically trigger the workflow defined in your main.yml file.

Once the workflow completes successfully, your updated website will be deployed to your AWS S3 bucket.

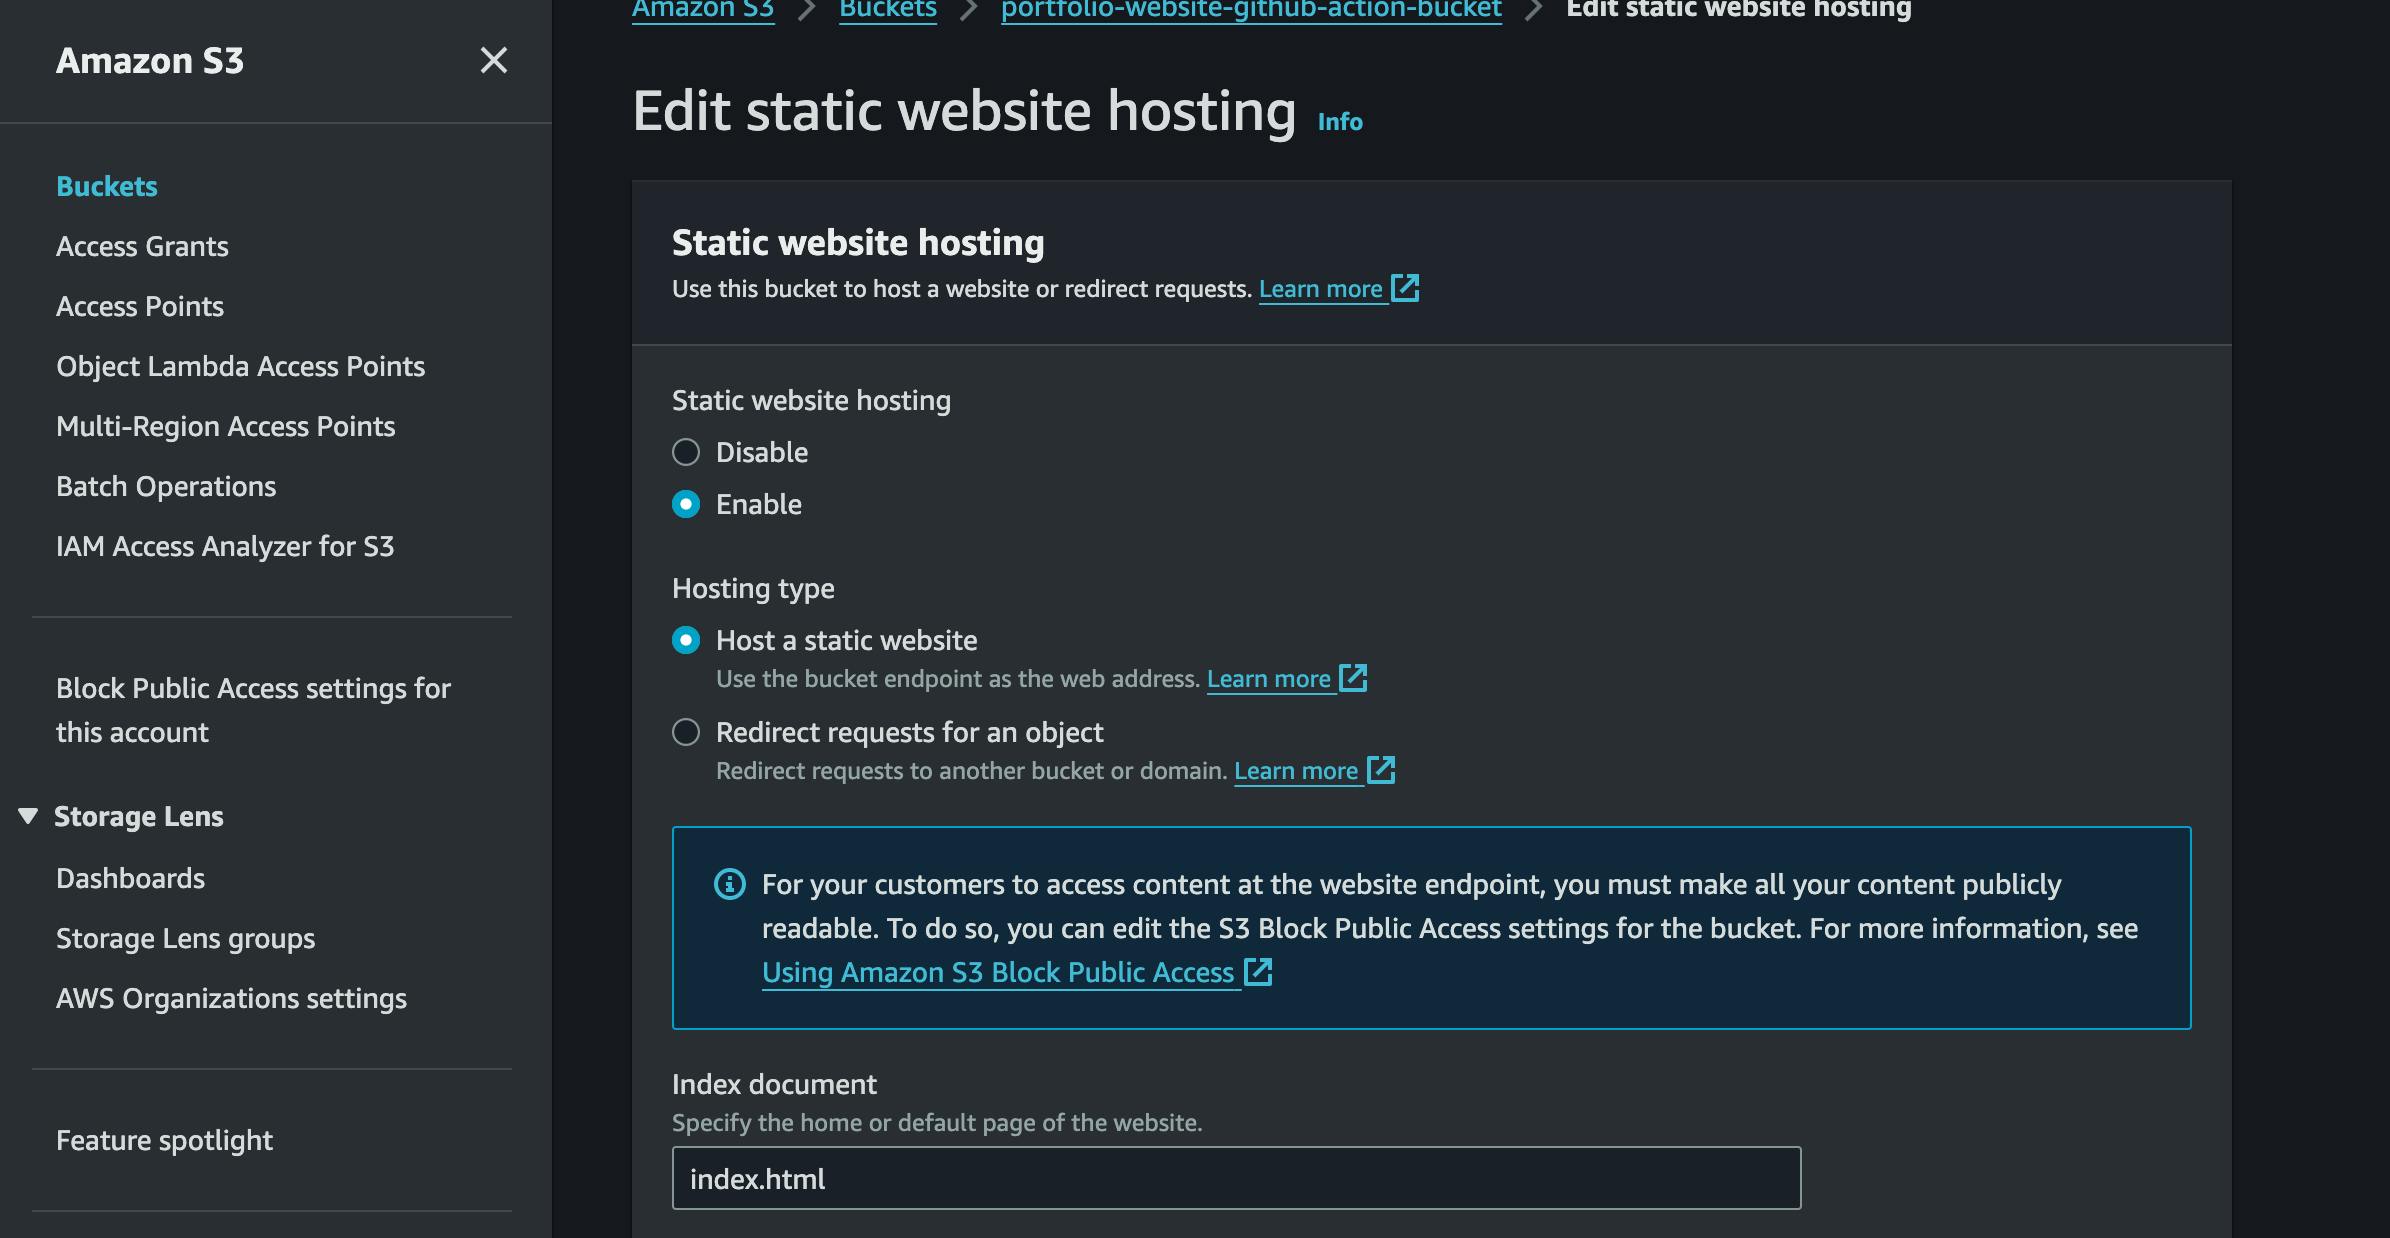
Enable Static Website Hosting:
Navigate to the properties of your S3 bucket in the AWS Management Console.
Find the "Static website hosting" card and click on it.
Select "Use this bucket to host a website."
In the "Index document" field, enter
index.htmlor the appropriate name for your website's main HTML file.Click "Save" or "Save changes" to enable static website hosting.
Configure Permissions:
After enabling static website hosting, navigate to the "Permissions" tab of your S3 bucket.
Click on "Bucket Policy."
Here's a sample bucket policy you can use to make your bucket contents publicly accessible. Replace
"your-bucket-name"with the name of your S3 bucket:{ "Version": "2012-10-17", "Statement": [ { "Sid": "PublicReadGetObject", "Effect": "Allow", "Principal": "*", "Action": "s3:GetObject", "Resource": "arn:aws:s3:::portfolio-website-github-action-bucket/*" } ] }Click on "Save" after adding the bucket policy. Ensure the policy is correctly formatted to avoid any errors.
Access Your Website:
After saving the bucket policy, you should see a "Bucket website endpoint" URL in the "Static website hosting" card under the bucket properties. This URL is where your website will be accessible.
Copy the endpoint URL and paste it into your web browser.
You should now be able to access your portfolio website hosted on the S3 bucket.
Happy Learning ^_^